# System Configuration
System Configuration
In this section, you can update the settings of System Settings, Machine Types and Operation Menus.
- System Settings is configured for Aplos Gateway and Aplos Yun.
- Machine Types is configured for Machine Drivers and Machine Types.
- Operation Menus is configured for the menu buttons shown in operation panel.
- You may refer to First Time Setup if you have issues with the settings configuration.
# System Settings
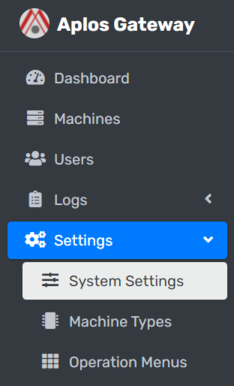
Navigation Menu
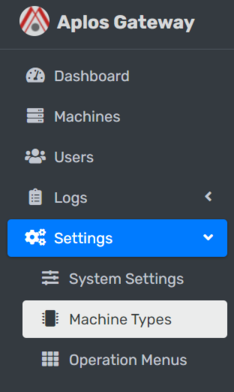
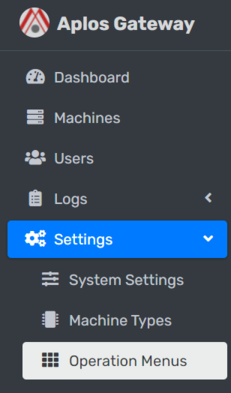
On the left sidebar, click on Settings dropdown and navigate System Settings.
# Aplos Gateway
# Gateway Configuration
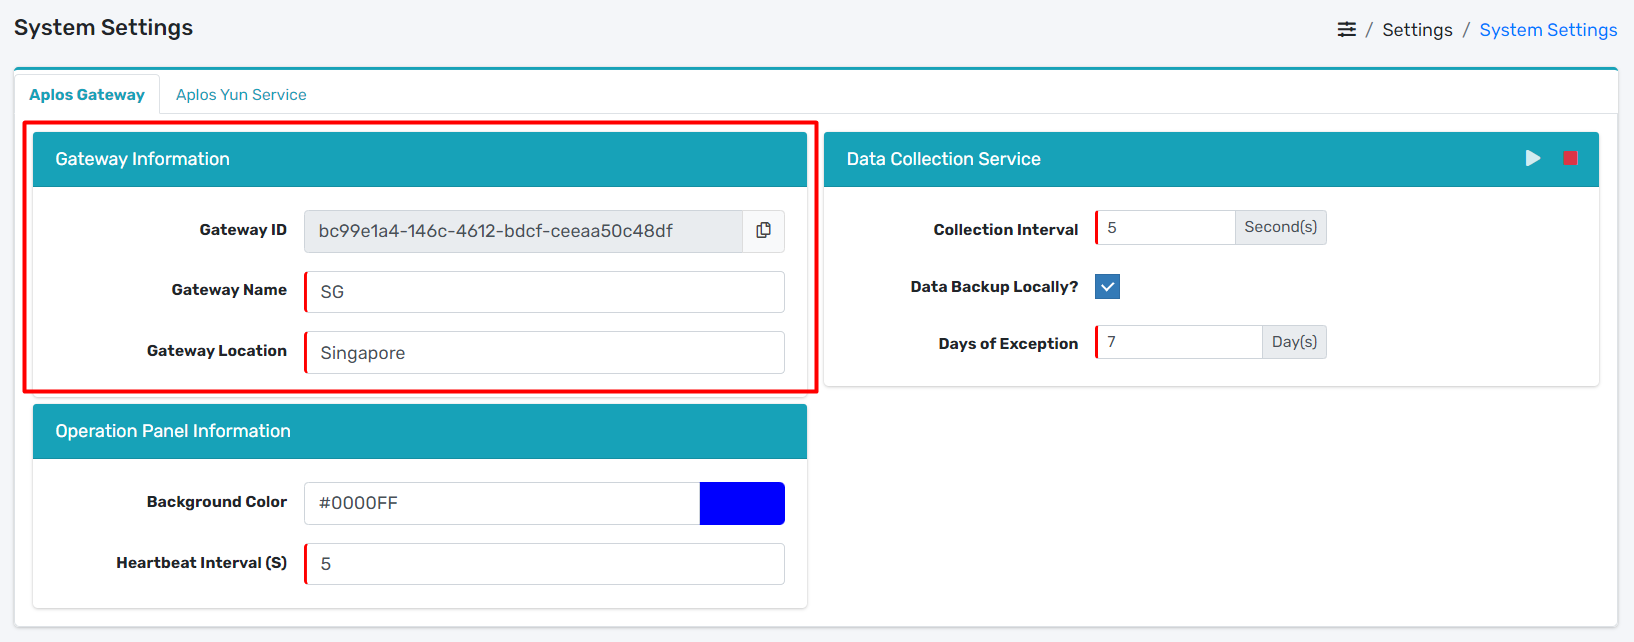
- Locate Gateway Information.
- Input Gateway Name and Gateway Location.
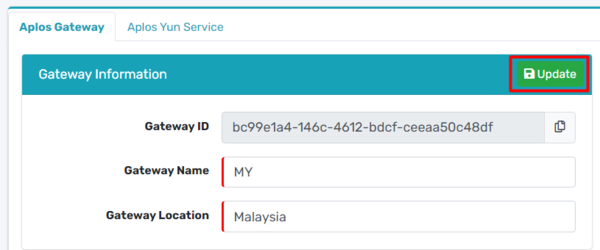
- Update button will appear at the top right corner of the Gateway Information.
- Update the information by clicking Update button.
# Data Collection Configuration
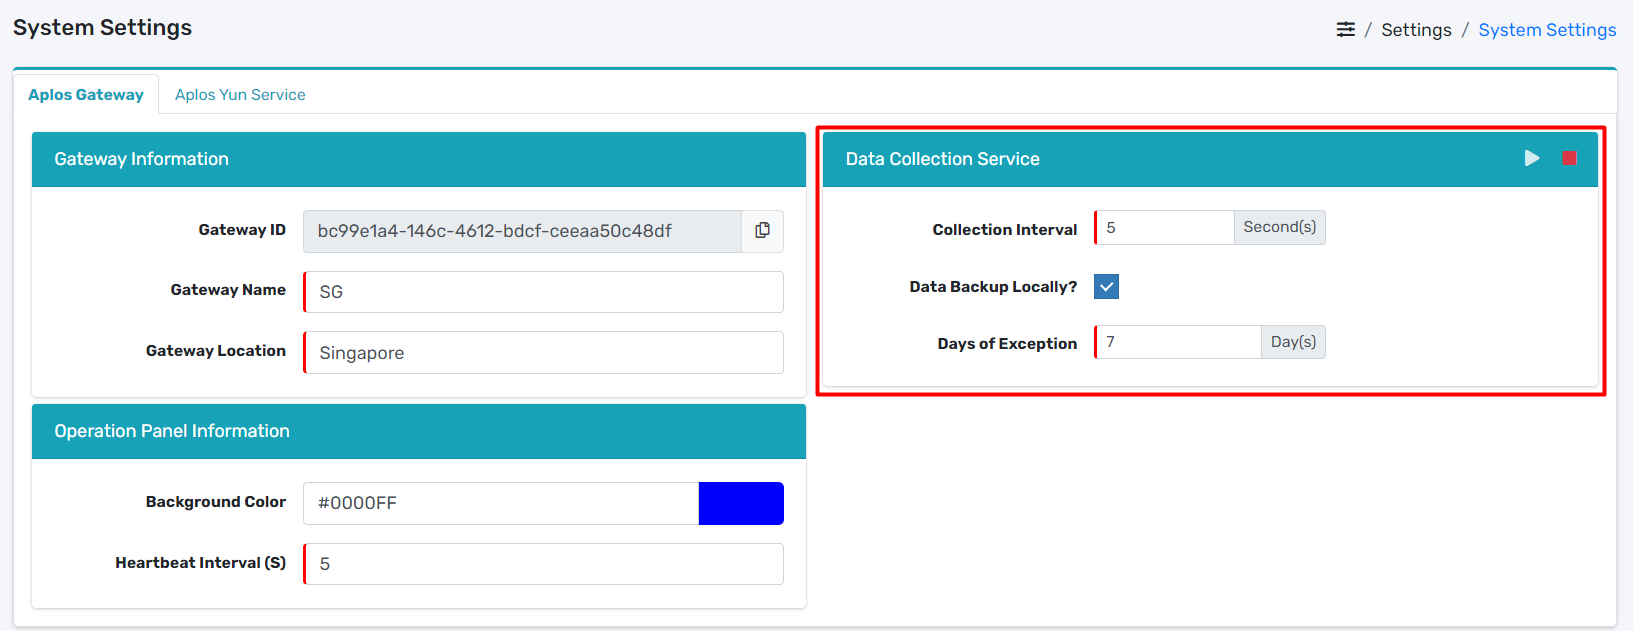
- Locate Data Collection Service.
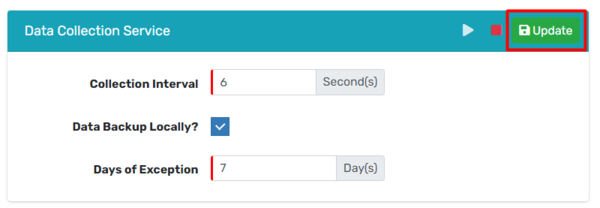
- Input Collection Interval and Days of Exception.
- Update button will appear at the top right corner of the Data Collection Service.
- Update the information by clicking Update button.
# Operation Panel Configuration
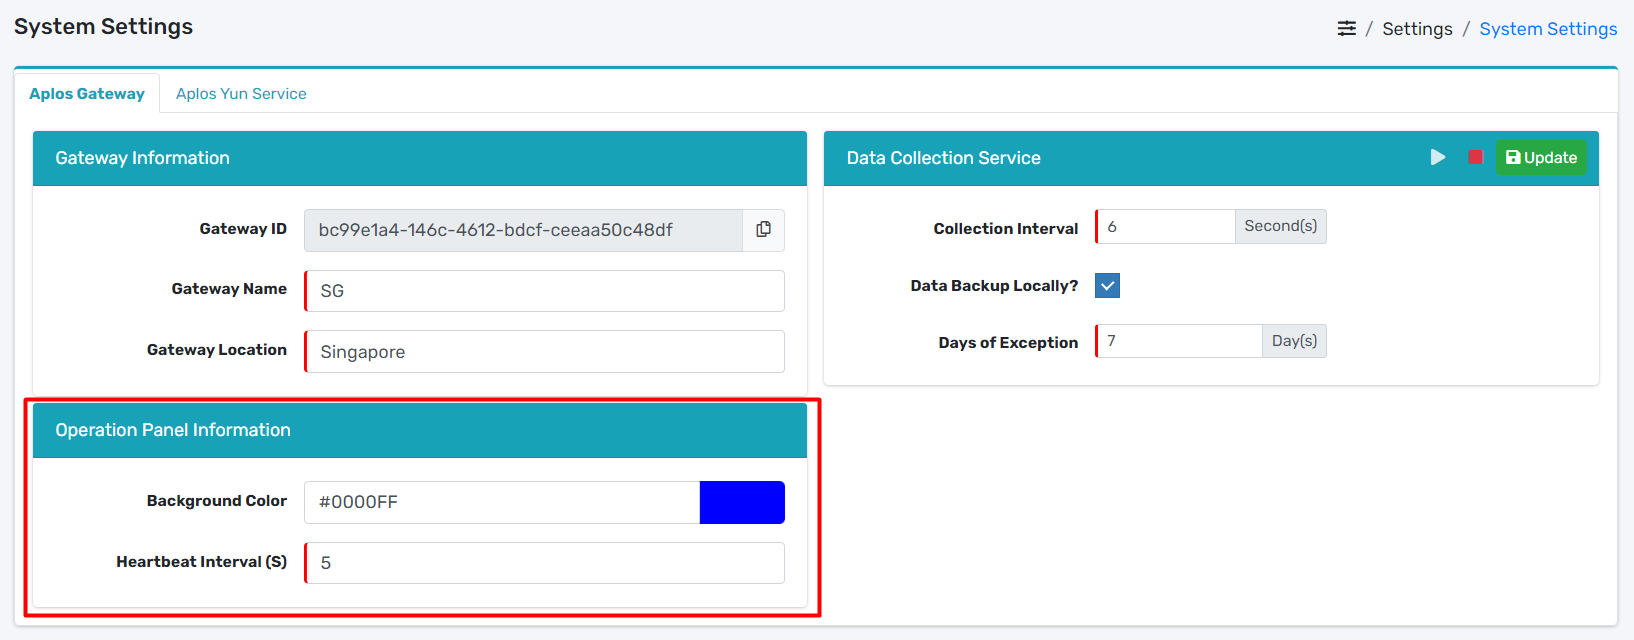
- Locate Operation Panel Information.
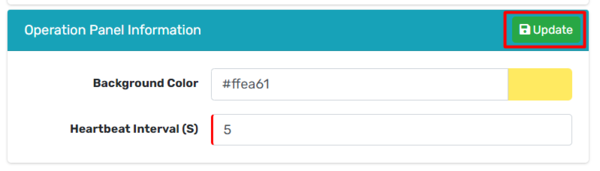
- Input Background Color and Heartbeat Interval.
- Update button will appear at the top right corner of the Operation Panel Information.
- Update the information by clicking Update button.
# Aplos Yun Service
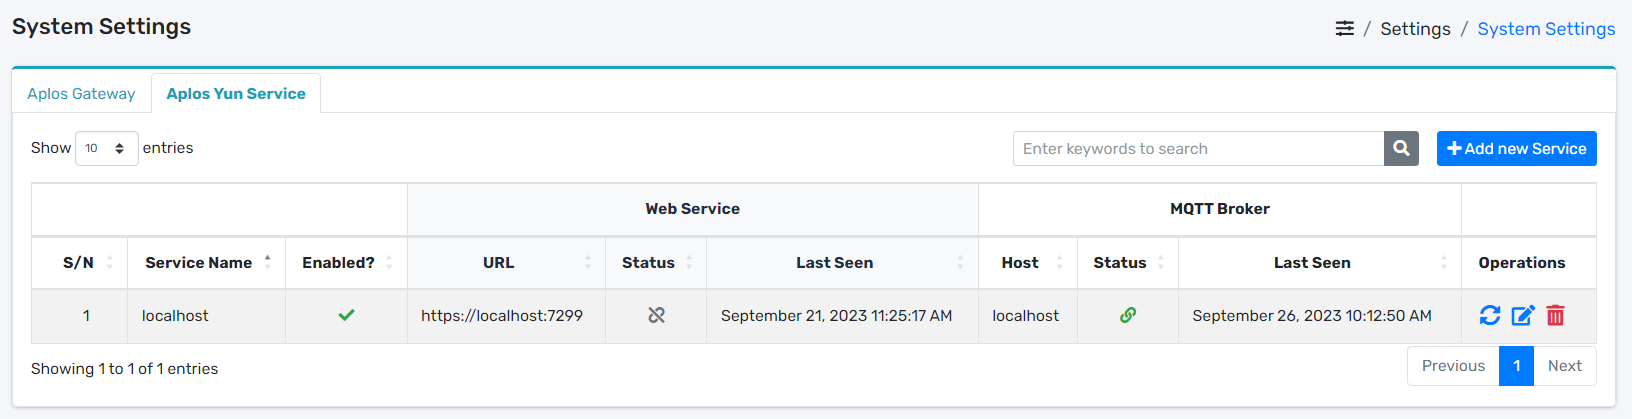
- Locate Aplos Yun Service tab.
# Add Service

- Locate Add new Service button.
- It will open up a modal dialog.
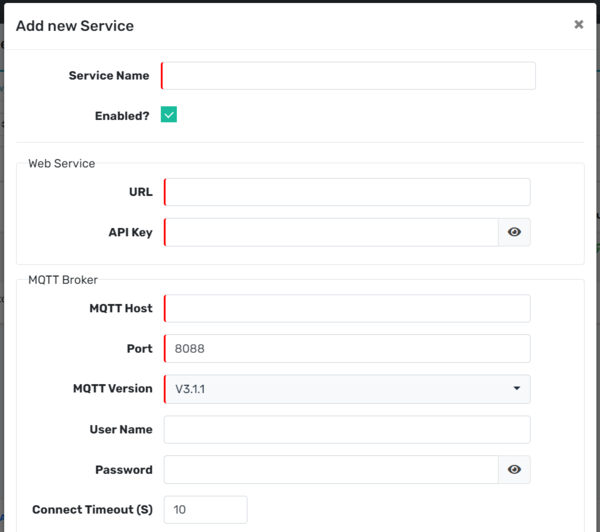
- Input Service Name, URL, API Key, MQTT Host, Port, MQTT Version, User Name, Password.
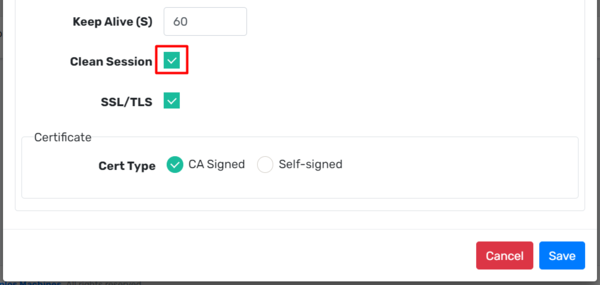
- Tick the checkbox of Clean Session.
- Lastly, save the information by clicking Save button.
# Edit Service
![]()
- Locate Edit icon.
- It will open up a modal dialog.

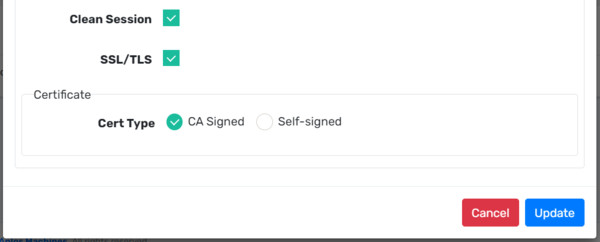
- Update Service Name, URL, API Key, MQTT Host, Port, MQTT Version, User Name, Password.
- Lastly, update the information by clicking Update button.
# Delete Service
![]()
- Locate Delete icon.
- It will open up a modal dialog.
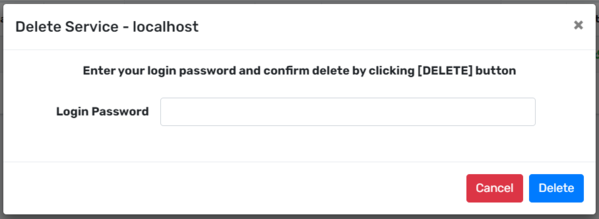
- Input correct Login Password.
- Delete the machine by clicking the Delete button.
# Machine Types
Navigation Menu
On the left sidebar, click on Settings dropdown and navigate Machine Types.
# Configure Machine Types
Take Note
Before you Add Machine Types, make sure you have configured Machine Drivers in System Settings.
# Add Machine Types

- Locate Add new Type button.
- It will open up a modal dialog.

- Input Machine Model, Manufacturer, Product Series, Controller Name and Machine Driver.
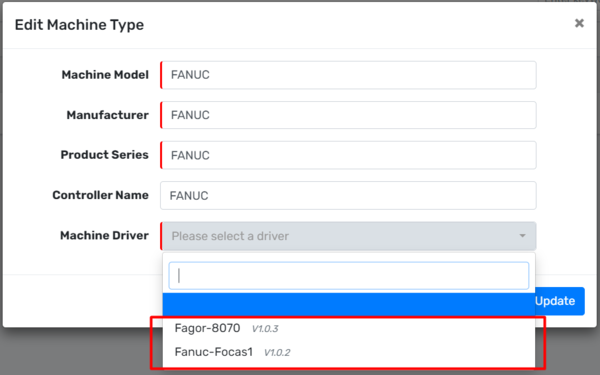
- Choose the correct Machine Driver for your machine type.
- Lastly, save the information by clicking Save button.
# Edit Machine Types
![]()
- Locate Edit icon.
- It will open up a modal dialog.
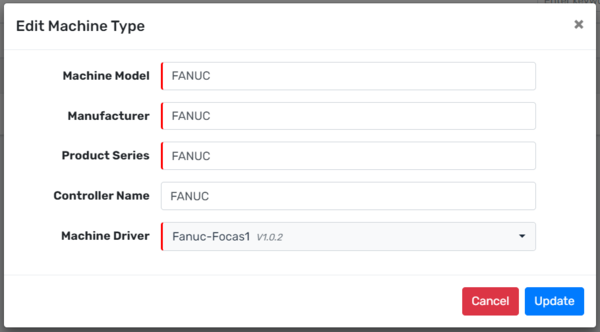
- Input Machine Model, Manufacturer, Product Series, Controller Name and Machine Driver.
- Update the informaton by clicking the Update button.
# Configure Operation Panel
![]()
- Locate Configure icon.
- It will open up a modal dialog.
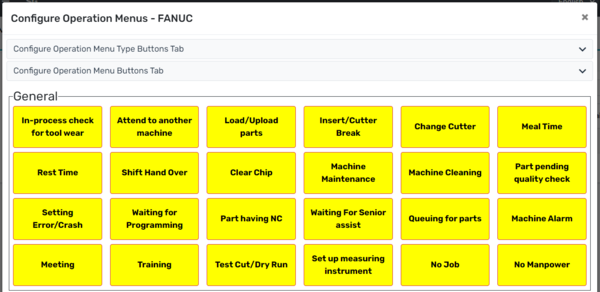
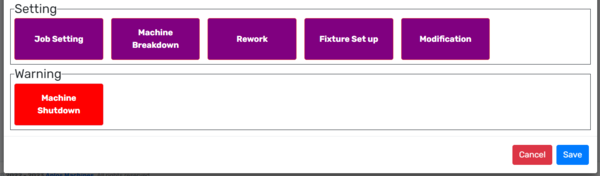
- You can toggle the Configure Operation Menu Type Buttons Tab, Configure Operation Menu Buttons Tab.
- It will collapse down the tab.
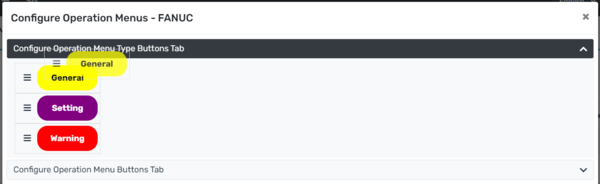
- To change the order of the Menu Type Buttons, drag over the button to the order you like.
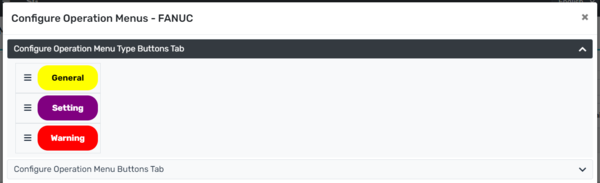
- The order will change accordingly.

- To enable the Menu Buttons display at the Operation Panel, you can tick the radio button.
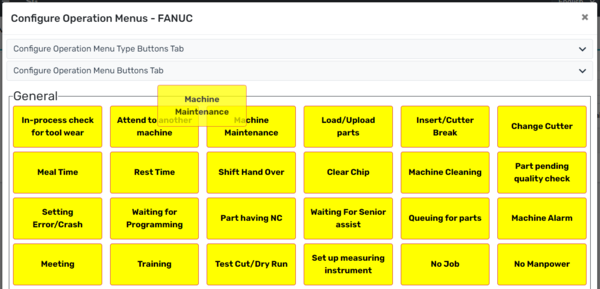
- To change the order of the Menu Buttons, drag over the button to the order you like.
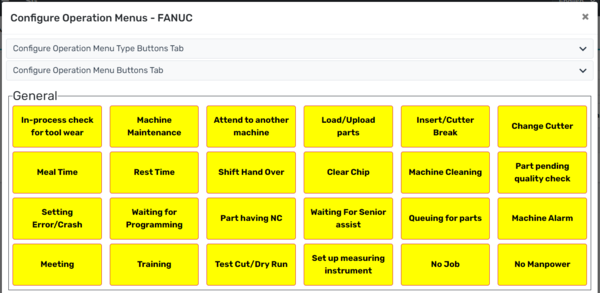
- The order will change accordingly.
- Lastly, save the information by clicking the Save button.
# Delete Machine Types
![]()
- Locate Delete icon.
- It will open up a modal dialog.
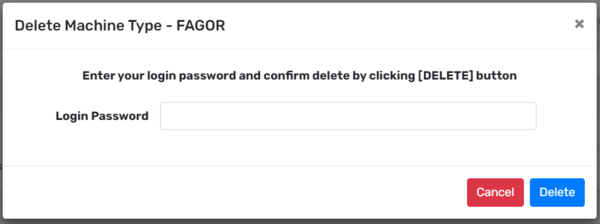
- Input correct Login Password.
- Delete the machine type by clicking the Delete button.
# Configure Machine Drivers
# Import Machine Driver
![]()
- Locate Import icon.
- It will open up a modal dialog.
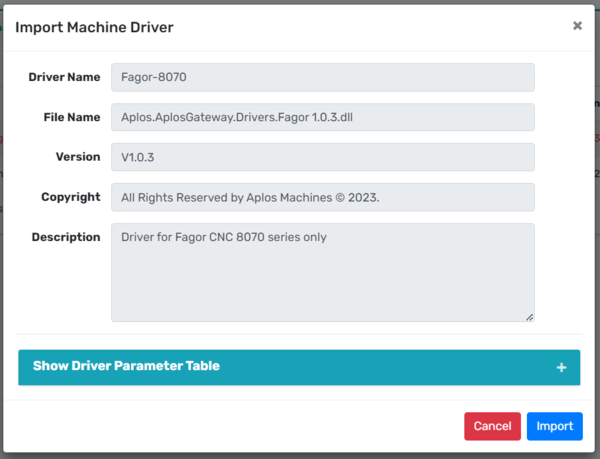
- Import the driver by clicking Import button.
# Remove Machine Driver
![]()
- Locate Remove icon.
- It will open up a modal dialog.
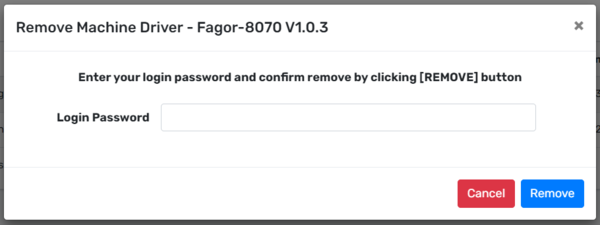
- Input correct Login Password.
- Remove the machine driver by clicking the Remove button.
# Operation Menus
Navigation Menu
On the left sidebar, click on Settings dropdown and navigate Operation Menus.
# Configure Operation Menus
# Add Operation Menu

- Locate Add new Menu button.
- It will open up a modal dialog.
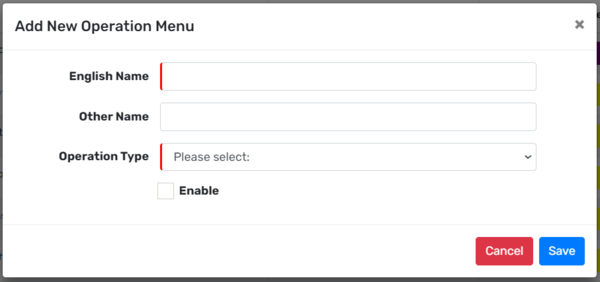
- Input English Name, Other Name, Operation Type.
- Enable the Operation Menu by ticking the Enable.
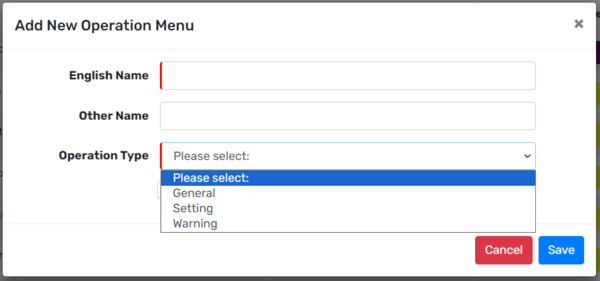
- Choose the correct Operation Type for the Operation Menu.
- Lastly, save the information by clicking Save button.
# Edit Operation Menu
![]()
- Locate Edit icon.
- It will open up a modal dialog.

- Update English Name, Other Name, Operation Type.
- Enable/Disable the Menu Button.
- Lastly, update the information by clicking the Update button.
# Delete Operation Menu
![]()
- Locate Delete icon.
- It will open up a modal dialog.
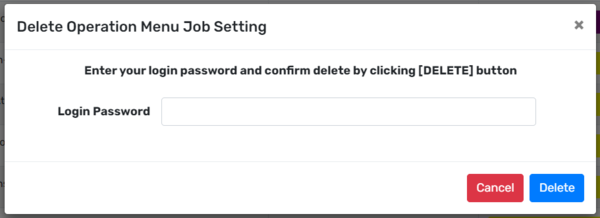
- Input correct Login Password.
- Delete the Operation Menu by clicking the Delete button.
# Configure Operation Menu Types
# Add Operation Menu Type

- Locate Add new Type button.
- It will open up a modal dialog.
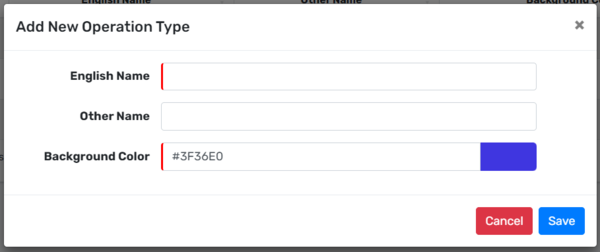
- Input English Name, Other Name and Background Color.
- Lastly, save the information by clicking Save button.
# Edit Operation Menu Type
![]()
- Locate Edit button.
- It will open up a modal dialog.
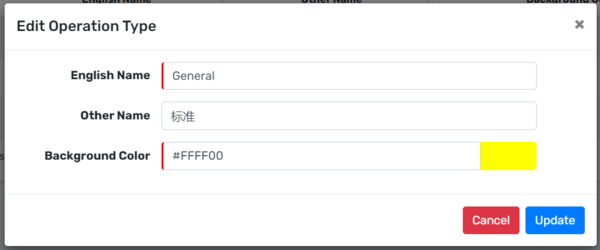
- You can edit English Name, Other Name and Background Color.
- Update the information by clicking the Update button.
# Delete Operation Menu Type
![]()
- Locate Delete icon.
- It will open up a modal dialog.
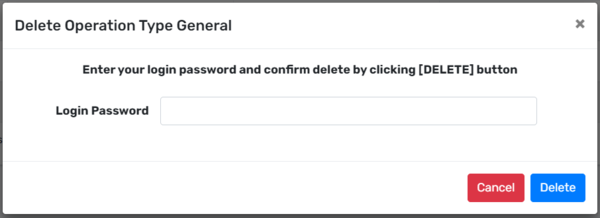
- Input correct Login Password.
- Delete the Operation Menu Type by clicking the Delete button.
← System Logs FAQs →